While reading Noah Kagan’s Million Dollar Weekend and Josh Kaufman’s The Personal MBA, they both mention the same idea: Validate your idea by getting paid. You can call it ‘shadow testing’, a means of selling an offer before it actually exists.
With that in mind, I went to setup a simple payment page for a side-project I was working on, Social St. After investigating and scrolling through indie-hackers, the few options knocking at my door was:
- Stripe
- Paddle
- Chargebee
I heard Paddle simplifies taxing complexities for you, and it works globaly with many payment providers under the hood. Chargebee also looks pretty polished and was free for the first 250 K USD, unlike Paddle and Stripe which charges fees per transaction. In the end I chose Stripe because of smaller fees, is most common to me, and to my surprise was easy to integrate. They’re docs was 😘, and they have this very accessible ‘test mode’ switch that allows you to confortably test with a couple of test credit cards that will either suceed/decline/authenticate.
For receiving online payments, they have 3 integrations as highlighted in this page.
- A no code solution of just inserting a link
- Stripe checkout which uses your backend to redirect the response to a stripe page
- Stripe elements if you’d like to build the form UI yourself.
I chose Stripe Checkout offering simply as it was recommended.
Step 1:
Follow the instruction in the quickstart. Copy the code into your backend (ie. in my case, Rails controller), such that requesting the resource would setup the Stripe checkout session and response a redirect to Stripe. You will also provide routes to the pages for when the checkout suceeded/cancelled.
Step 2:
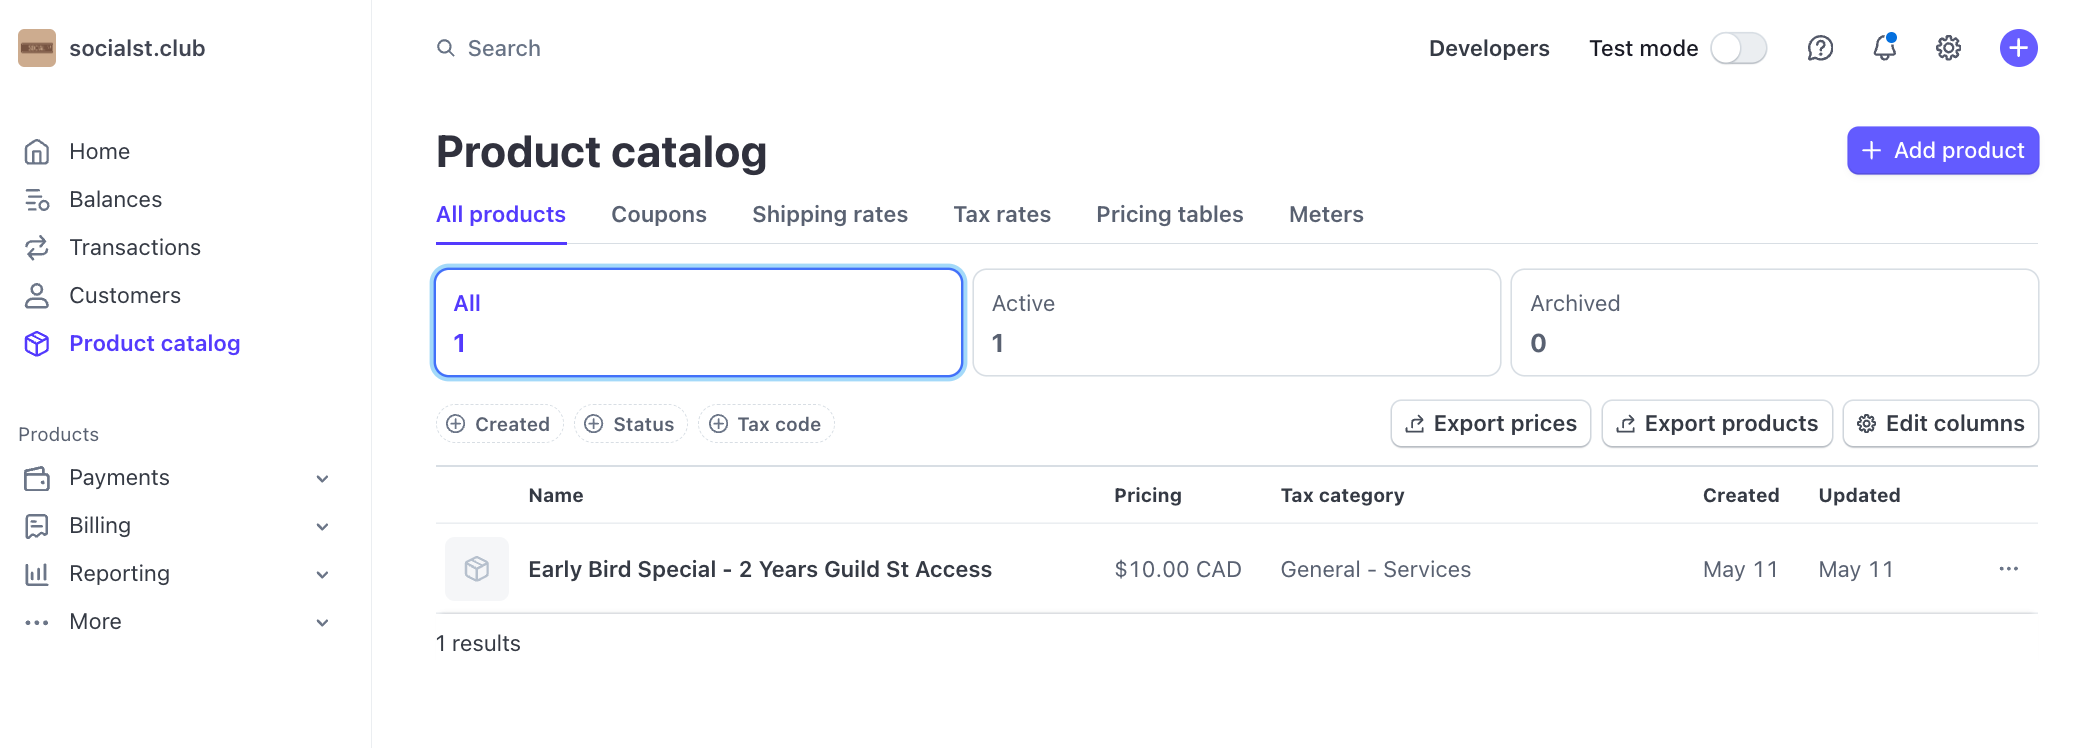
When setting up Stripe checkout session, they recommended you to pass Price ID which comes from Stripe’s preconfigured product and price information. You’d have to create a product upfront or easily via your Stripe Dashboard’s product catalog. There you can define your product and its description, image, price, metadata etc. After defining product in test mode, you can instantly move it to your production dashboard on a click of a button.

Step 3:
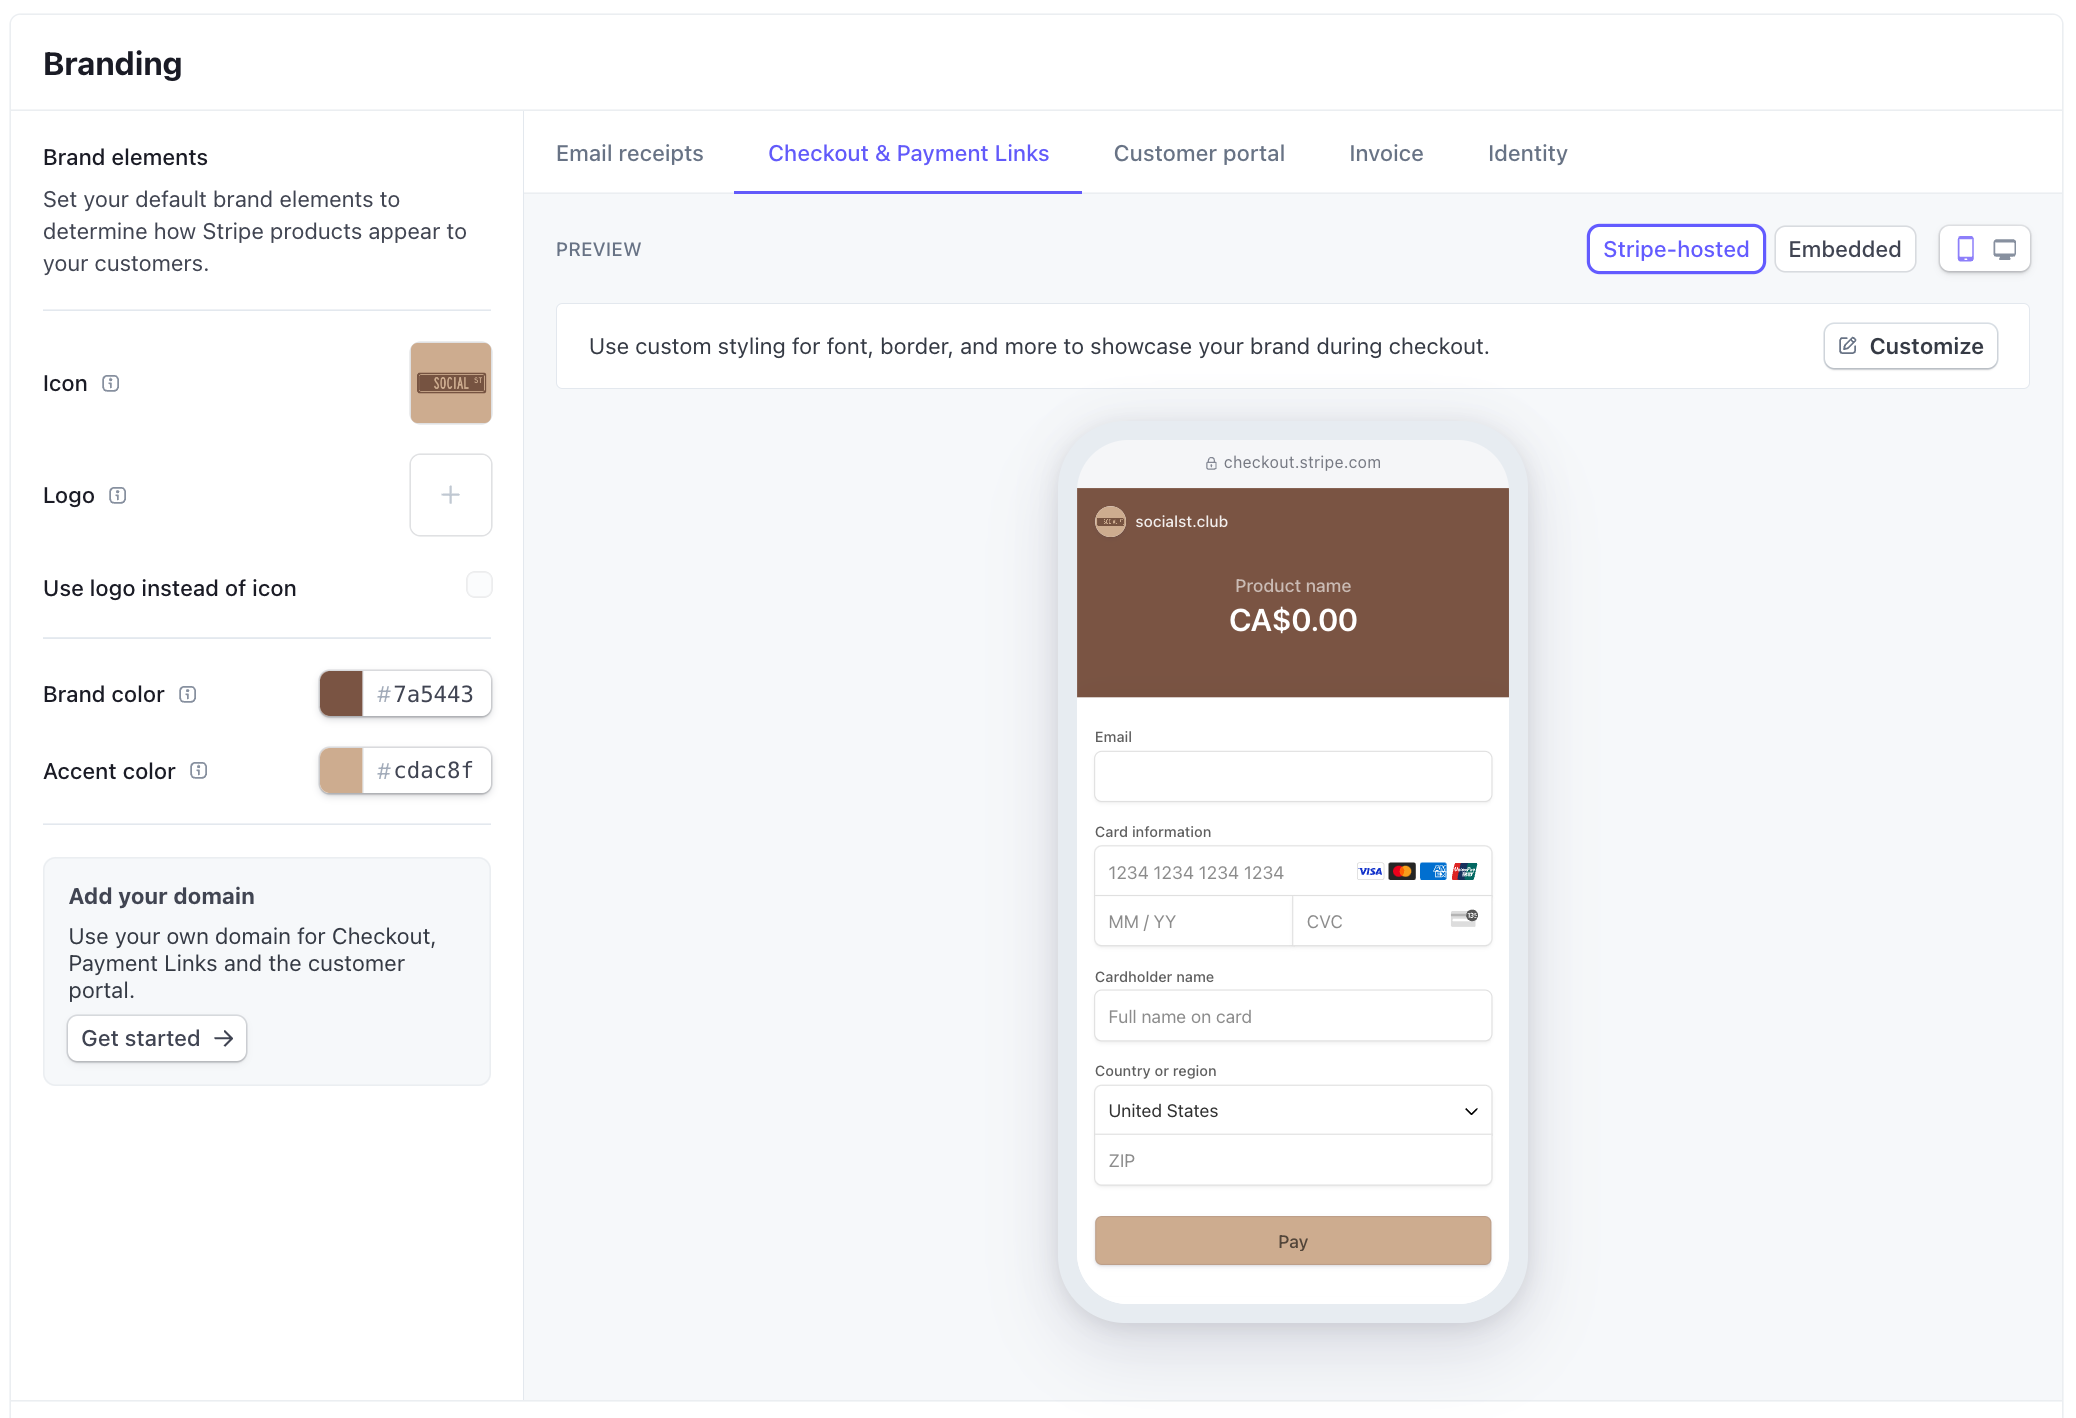
Setup the branding for your page. This means defining the looks and feel of your checkout page to suit your brand. Get here through Settings > Business > Branding.

Finally
That’s it! Obviously there’s much more to Stripe than what I’ve explored, but I was able to get something up within a few hours and that felt good. Thought it would be more complicated than that.